
Installation
Python is a programming language compatible with various operating systems, including Linux, macOS and even Windows. This versatility makes it an ideal choice for developers on different platforms.
Below, we’ll show you how the Python installation process works on each of these operating systems.
Windows
Section titled “Windows”-
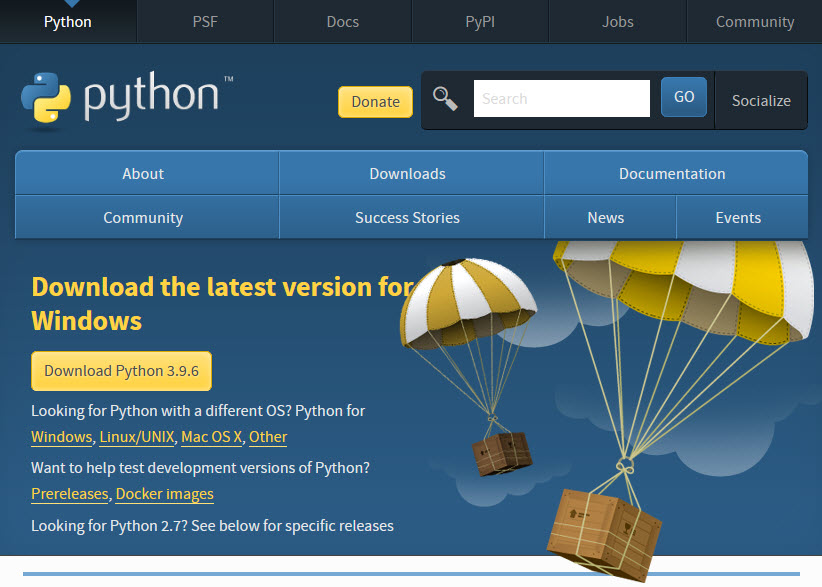
Go to the official site: https://www.python.org/downloads
-
Download the Windows installer
(choose the recommended version). -
Run the installer:
- Check “Add Python to PATH” before clicking Install Now.
- Then click Install Now.
-
Wait for the installation to finish and close the installer.
-
Verify from CMD or PowerShell:
Ventana de terminal python --version -
Installation Complete
-
Open Terminal (from Spotlight: Cmd + Spacebar, then type Terminal).
-
Install Python:
Ventana de terminal brew install python -
Verify version:
Ventana de terminal python3 --version -
Use pip to install packages (Optional):
Ventana de terminal pip3 install package-name -
Installation Complete
-
Open the terminal (Ctrl + Alt + T).
-
Update the system:
Ventana de terminal sudo apt update && sudo apt upgrade -
Install necessary dependencies:
Ventana de terminal sudo apt install software-properties-common -y -
Install Python (for example, 3.11):
Ventana de terminal sudo apt install python3.11 -y -
Verify installation:
Ventana de terminal python3.11 --version -
Installation Complete